
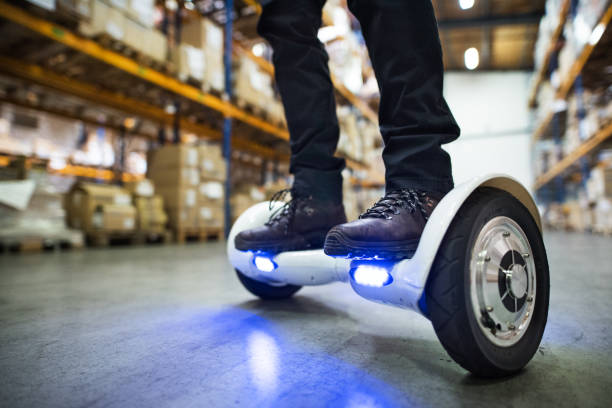
How to Customize a Hoverboard?
What do you do if your hoverboard is identical to everyone else’s and you want something distinctive that stands out from the crowd? The solution is to customize your hoverboard. By using these low-cost techniques, you can give your hoverboard more character and make it distinctively yours by adding stickers, skins, and other DIY custom hoverboard ideas that suit your taste. If you have kids, creating DIY projects with your favourite toy is a terrific way to strengthen your family bonds. Additionally, it is a fantastic exercise for children.
Hoverboard skins and stickers
Hoverboard skins, also referred to as hoverboard decals, provide a quick way to distinguish your gadget from the competition. These stickers look excellent while you perform tricks on your hoverboard and come in a wide range of design and colour options. Verify that a skin or decal is totally compatible with your hoverboard before making a purchase. Usually, you can accomplish this by taking a few straightforward measures. First, thoroughly clean the hoverboard. Remove any dirt and filth from the device’s exterior by thoroughly cleaning it with a cleansing wipe. By doing this, it will be feasible to apply the skin evenly. Note that the skin should be removed from the container and attached to the hoverboard. Eliminate with a straight edge. The hoverboard’s surface should be rubbed down repeatedly until you are happy with the results.
Design it yourself
You can always create your own design if you can’t seem to locate a decal that appeals to you on Amazon or elsewhere on the Internet. A hoverboard may always be decorated with conventional stickers and coloured duct tape. Make sure you have an X-Acto knife and associated tools if you’re going to be applying coloured duct tape or cutting stickers to fit your preferred design. You should be cautious when using stickers and tape to cover your hoverboard to prevent producing any overlaps that could reduce the board’s overall effectiveness. Once you are satisfied with your work, gently cut around any necessary components using the X-Acto knife. This covers LED lighting, charging ports for lithium-ion batteries, and footpads.
Painting a hoverboard
If decals and stickers are not appropriate, you can completely paint your hoverboard. Take particular care as you continue the painting process because this step cannot be undone. Traditional brush-based paint is not recommended as spray paint will produce more appealing results. Make sure you go around and tape off any places you do not want to be painted after selecting a spray paint colour. This includes all LED lighting, wheels, charging ports, and other features. Before you begin painting, make sure you understand how to disassemble the wheels on your hoverboard. Give the hoverboard some time to dry when you’ve finished painting it. Apply one more layer, then wait for it to dry. Continue doing this until your hoverboard looks amazing.
A fun approach to give a hoverboard a unique flair is to customise it. A hoverboard will appear better if it is painted or given colourful skins, which can also cover up dings and scratches. The techniques are all simple and inexpensive, so remember to enjoy yourself!